
Plasterboard Buying Guide. Types, Sizes, UK Prices.
Plaster and plasterboard are essential for creating smooth interior walls and ceilings. Our comprehensive guide covers everything from choosing the right type and edge profile to selecting the correct screws and finding the best prices.
Browse Plaster & Plasterboard
Tapered Edge vs Standard Edge Plasterboard
The edge profile of your plasterboard determines how you finish the joints. Standard (square) edge boards have flat edges that butt together, leaving a visible seam that needs to be covered with a full skim coat of plaster. Tapered edge boards have a shallow recess along each long edge. When two tapered edges meet, they form a channel that you fill with jointing compound and embed paper tape into. Because the compound sits within the recess, it finishes flush with the board surface. This means you can decorate directly over the joints without skimming the entire wall. Tape and jointing is faster, creates less mess, and is a popular choice for DIY and drylining projects where you want to avoid wet plastering altogether.
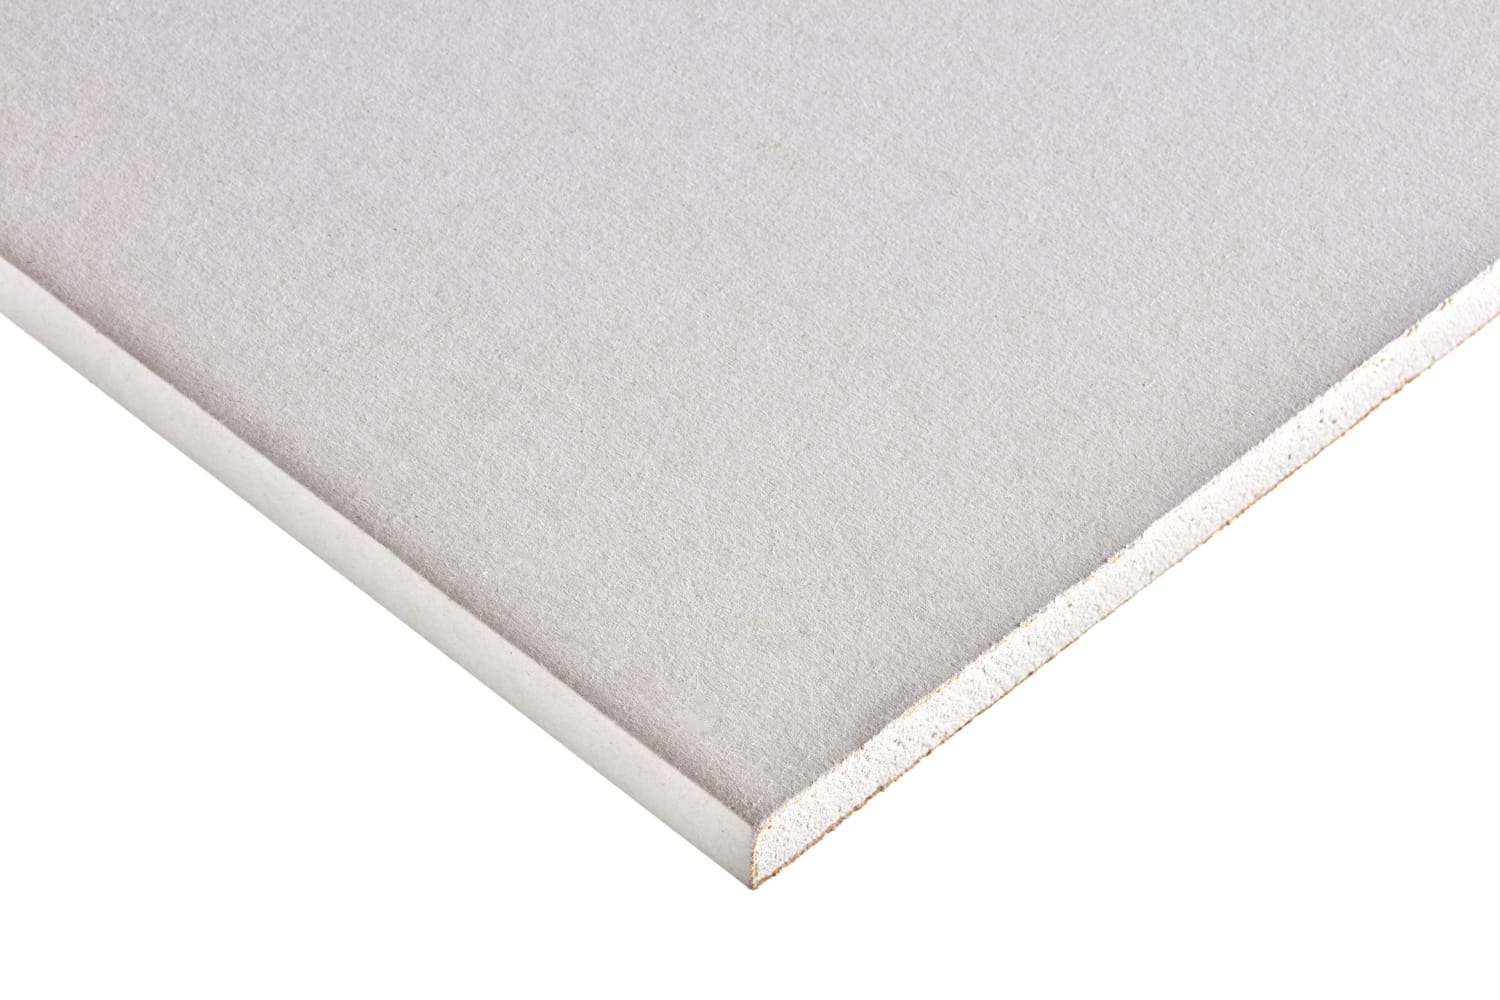
Standard edge. Flat edges butt together and require a skim coat over the joint.
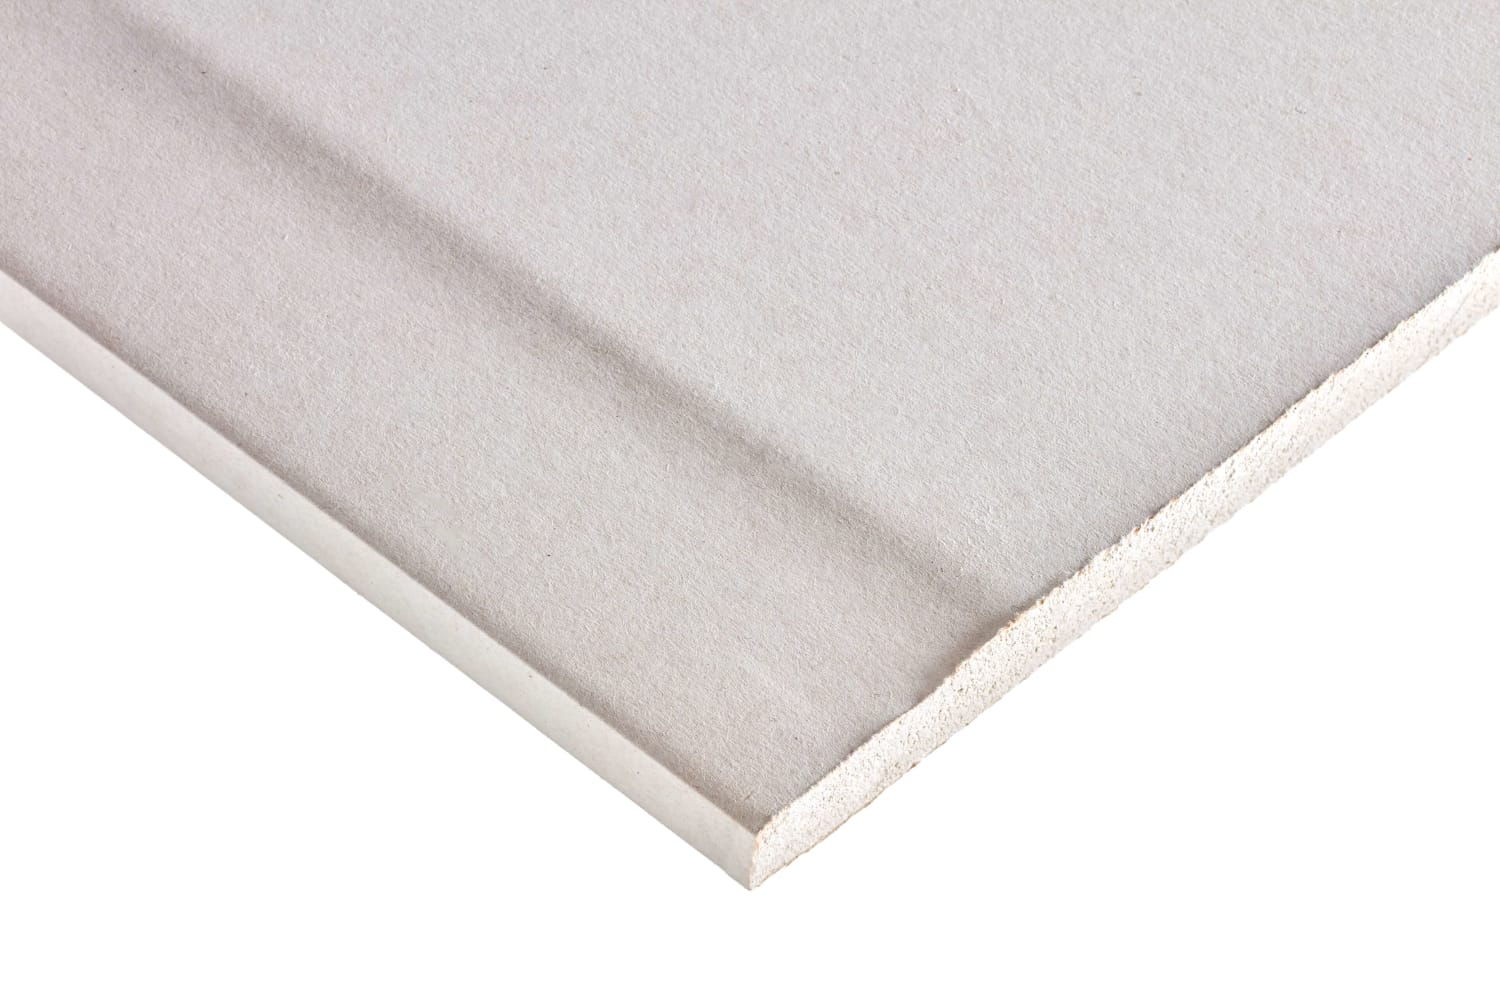
Tapered edge. The recess allows jointing compound and tape to sit flush with the board.

Tape and jointing. The filled joint is flush with the board, so no skim coat is needed.
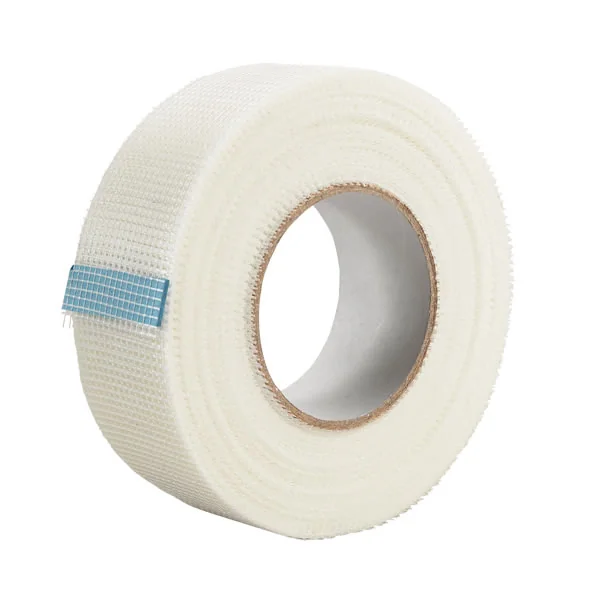
Scrim Tape: Essential for Every Joint
Regardless of whether you are using tapered or standard edge plasterboard, you should always apply scrim tape (also called joint tape or mesh tape) over every joint before plastering or applying jointing compound. Scrim tape is a self-adhesive fibreglass mesh that reinforces the joint and prevents cracks from appearing as the building moves and settles over time. On tapered edge boards, apply the scrim tape into the recess before filling with jointing compound. On standard edge boards, apply the scrim tape over the butt joint before skimming. It is also good practice to tape internal corners where walls meet walls or ceilings. A 90m roll covers roughly 30-40 square metres of plasterboard, so one roll goes a long way. Skipping the tape is one of the most common DIY mistakes and almost always results in cracking along the joints within the first year.
Standard Plasterboard Sizes
The most common plasterboard sheet size in the UK is 2400mm x 1200mm (8ft x 4ft), which covers 2.88 square metres per sheet. Smaller 1800mm x 900mm sheets are available for tighter spaces, loft hatches, or where a full sheet would be difficult to handle. Thickness options include 9.5mm for ceilings (lighter weight, easier to lift overhead), 12.5mm for standard walls (the most common choice), and 15mm where enhanced fire or sound resistance is needed. For dot and dab onto masonry, 12.5mm is the standard choice.

Types of Plasterboard
Standard plasterboard is suitable for most general applications on walls and ceilings. Moisture-resistant plasterboard (often called green board due to its colour) is treated to resist humidity, making it ideal for bathrooms, kitchens, and en-suites. Fire-resistant plasterboard (pink board) contains glass fibres and additives that improve fire performance, required in areas like garage walls adjacent to habitable rooms, loft conversions, and flats. Acoustic plasterboard is denser than standard board, reducing sound transmission between rooms. Insulated plasterboard has a layer of insulation bonded to the back, useful for improving thermal performance when drylining external walls.
How to Prepare a Wall for Plastering
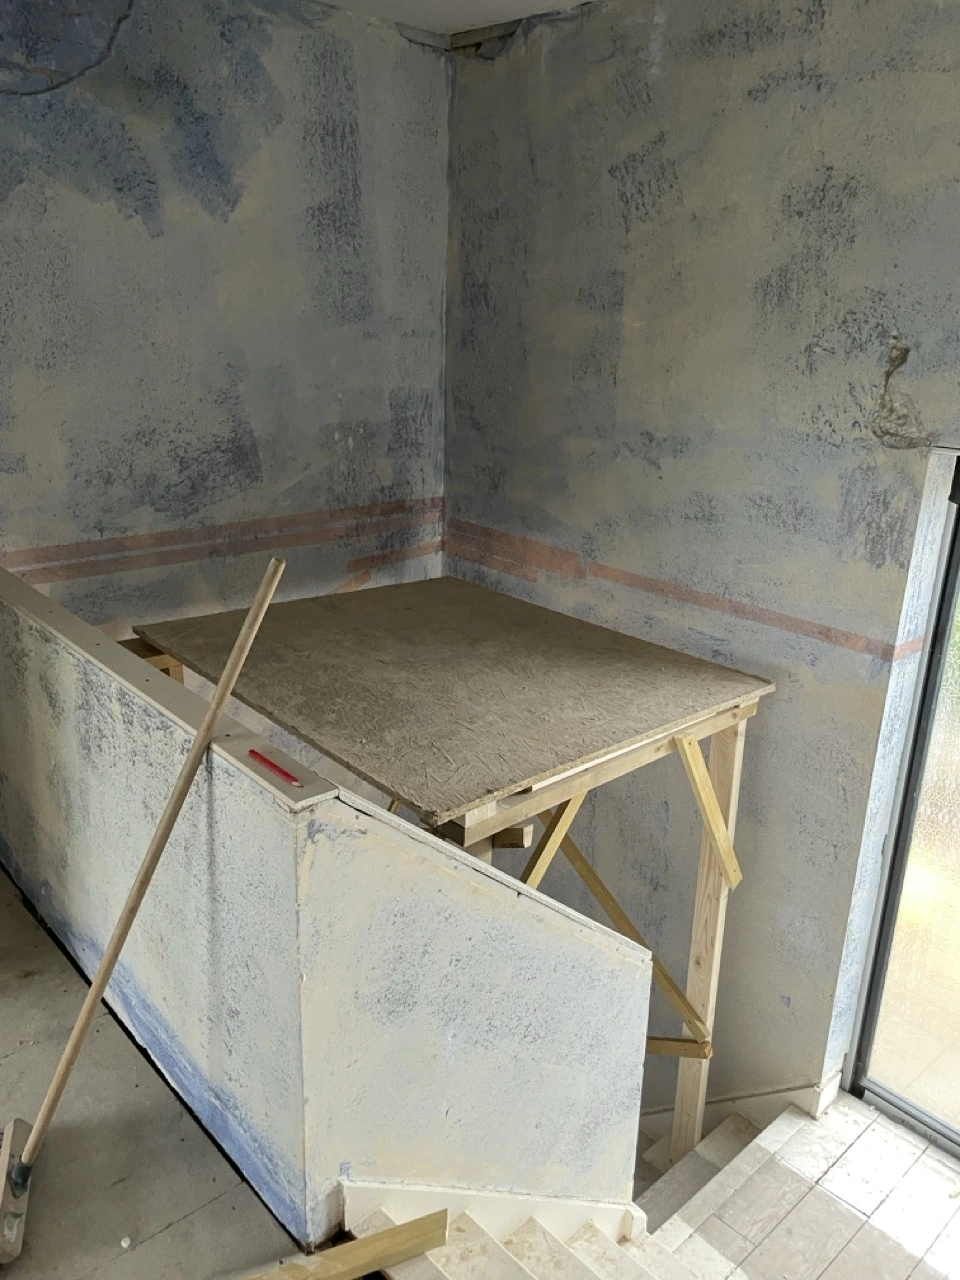
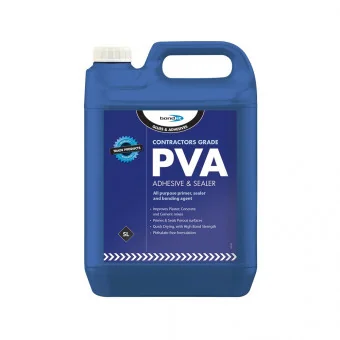
Good preparation is the difference between plaster that lasts decades and plaster that cracks within months. Start by checking the existing plaster for blown areas. Tap the wall with your knuckles or the handle of a scraper and listen for a hollow sound. Solid plaster produces a dull thud, but blown plaster sounds hollow because it has separated from the masonry behind it. Any areas that sound hollow need to be knocked off completely back to the brick or block. Use a bolster chisel and club hammer, or just a scraper if the plaster is already loose. Do not plaster over blown areas as the new coat will simply fail along with the old one. Once you have a solid background, brush off any dust and loose debris. For smooth, low-suction surfaces like concrete, painted walls, steel beams, or areas where old plaster has been patched back to a hard background, apply blue grit (sometimes called plaster primer). This is a ready-mixed bonding agent loaded with fine aggregate that you roll or brush on. It dries to leave a rough, sandy texture that gives the plaster something to grip onto. It is typically blue or pink so you can see where you have covered. You can also use diluted PVA (mixed roughly 1:4 with water) as a cheaper alternative to seal dusty surfaces and improve adhesion. However, blue grit is the better option because the aggregate creates a physical key that the plaster grips onto, whereas PVA only provides a chemical bond. PVA can also re-emulsify if it gets too wet during plastering, causing the plaster to slide.
Blue grit applied to an entire landing and stairway, ready to be skimmed.
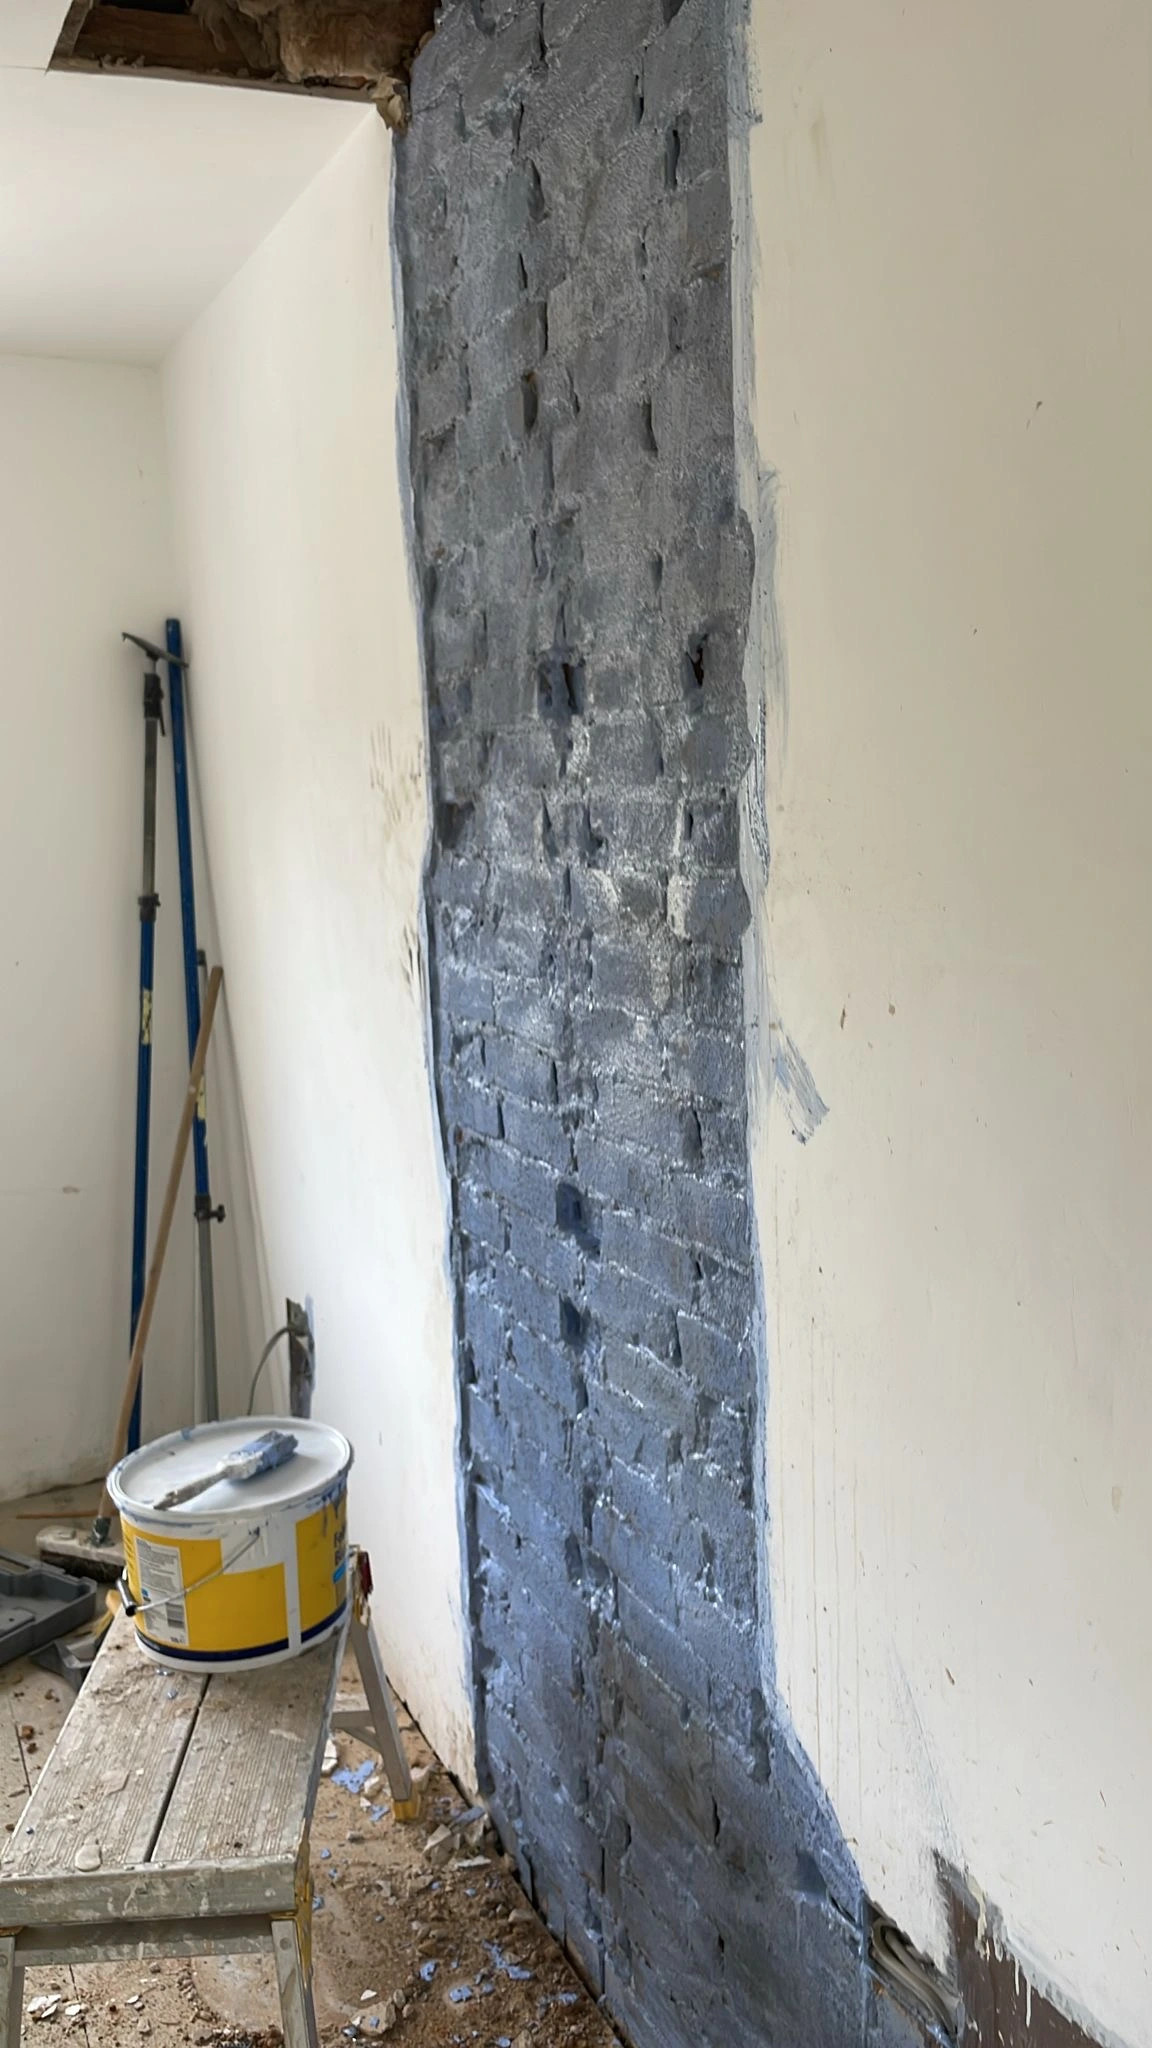
Blue grit applied where a chimney was removed, ready for bonding and skim coat.

Plaster Types
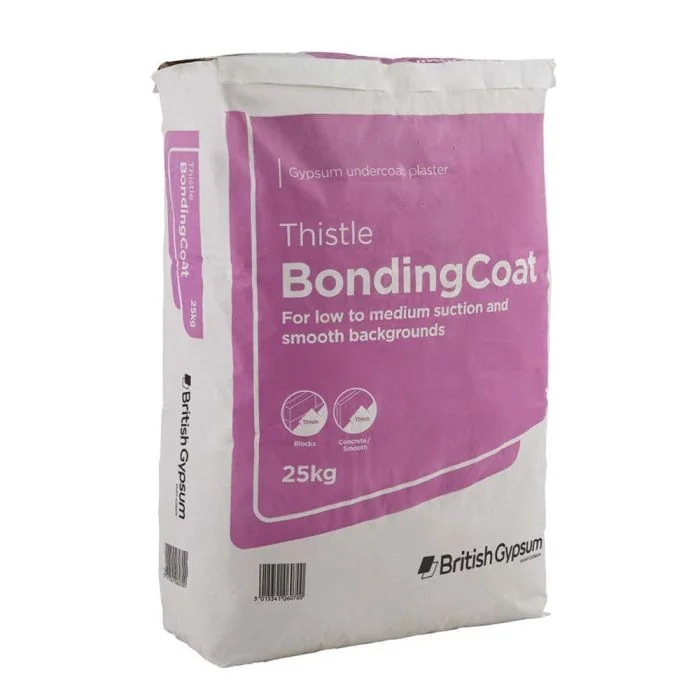
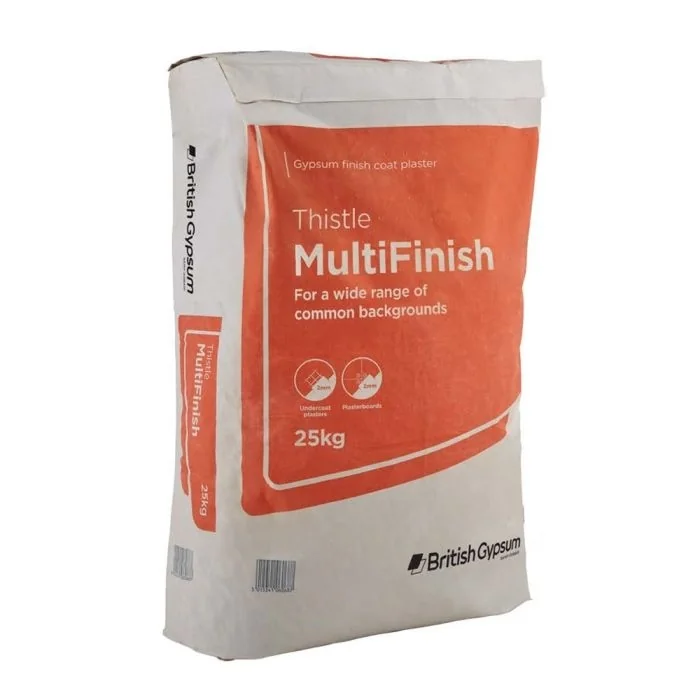
Bonding coat plaster is a base coat designed for low-suction surfaces like concrete, existing plasterboard, or painted walls. It creates a stable foundation for the finishing skim coat. Hardwall plaster (also known as Browning) is used as a base coat on high-suction backgrounds like bare brick or blockwork. Its formulation prevents the background from drawing moisture out too quickly, which would cause cracking. Multi-finish plaster is the go-to finishing plaster. Applied as a thin 2-3mm skim coat over the base layer, it creates the smooth surface you paint or wallpaper onto. It stays workable for about 90 minutes and one 25kg bag covers approximately 10-12 square metres.

Plasterboard Screws: Sizes and Types
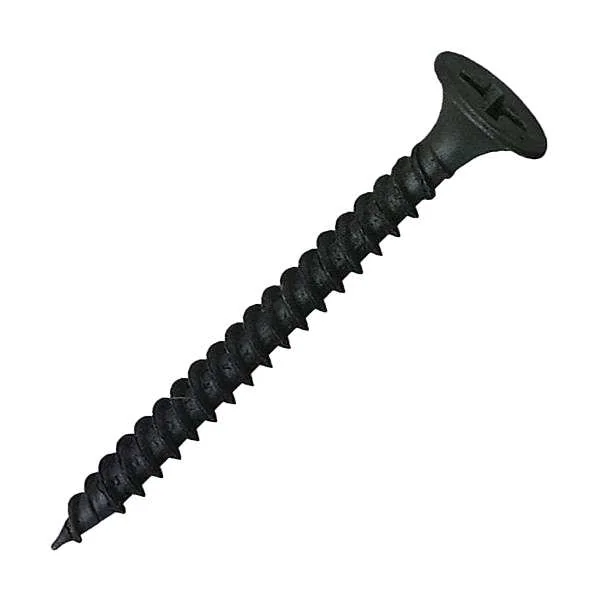
Choosing the right screw length depends on your plasterboard thickness and what you are fixing to. The screw needs to penetrate at least 20-25mm into the stud or frame behind the board. For 9.5mm plasterboard on timber studs, use 25mm drywall screws. For 12.5mm plasterboard on timber studs, use 38mm screws (the most common combination). For double-layer boarding or 15mm board, use 42mm screws. If you are fixing to metal studs, use fine-thread (self-tapping) drywall screws rather than coarse-thread. Coarse-thread screws are designed for timber and will not grip metal studs properly. Space screws every 200-300mm around the perimeter of each board and at 300-400mm centres along intermediate studs. Use a drywall screw gun or a drill with adjustable torque to avoid over-driving the screw head through the paper face.


Buying Tips
Always order 10% extra plasterboard to account for cuts and waste. Store plaster bags in dry conditions as gypsum absorbs moisture and will go off if it gets damp. Check whether delivery is included in the price, as plasterboard is heavy and bulky. For larger projects, buying in bulk can significantly reduce costs. When ordering plasterboard, consider how you will get it into the building. Full 2400x1200mm sheets are difficult to manoeuvre through standard doorways, so plan your delivery and access route in advance.
Helpful Calculators
Frequently Asked Questions
What thickness plasterboard do I need?
9.5mm is typically used for ceilings, 12.5mm for standard walls, and 15mm where extra fire or sound resistance is needed. For dot and dab applications onto masonry, 12.5mm is the standard choice.
How many bags of plaster do I need?
One 25kg bag of multi-finish plaster covers approximately 10-12 square metres at 2-3mm skim coat thickness. For base coat plaster like bonding or hardwall, coverage is around 2-3 square metres at 11mm thickness.
What is the difference between tapered and square edge plasterboard?
Tapered edge boards have recessed edges that form a channel when two boards meet. You fill this with jointing compound and tape, creating a flush finish without needing to skim the entire wall. Square (standard) edge boards have flat edges and are used where you intend to plaster over the entire surface.
How long does plaster take to dry?
Plaster typically takes 2-3 days to dry for each coat, but can take up to a week depending on thickness, temperature, and ventilation. Wait until it turns uniformly light pink before decorating. Do not use heaters to speed drying as this can cause cracking.
How many sheets of plasterboard do I need?
Divide your wall or ceiling area in square metres by 2.88 (the area of a standard 2400x1200mm sheet) and add 10% for waste. Our plasterboard calculator can help you work this out quickly.
What screws do I need for plasterboard?
Use 25mm screws for 9.5mm board, 38mm for 12.5mm board on timber, and 42mm for 15mm or double-layer board. Use coarse-thread screws for timber studs and fine-thread (self-tapping) screws for metal studs. Space them every 200-300mm around the edges and 300-400mm along intermediate studs.
Do I need to skim plasterboard?
Not necessarily. If you use tapered edge plasterboard, you can tape and joint the seams with jointing compound and decorate directly. This avoids the need for wet plastering entirely. Standard edge boards do need a skim coat to cover the joints.